If you’ve spent any time editing videos, you’ve probably heard someone mention a LUT. Whether you’re shooting on a DSLR, mirrorless camera, cinema camera, or even your phone, LUTs are one of the fastest ways to improve the look of your footage.
But what exactly is a LUT, and when should you use one?
In this guide, you’ll learn what LUTs are, the different types of LUTs, when to use them, and how to choose the right one for your footage.
Get your Free Video LUTs
What Is a LUT?
LUT stands for Look-Up Table. At its core, a LUT transforms one set of color values into another based on a mathematical calculation.
That may sound complicated, but the idea is actually simple.
Think of a LUT as a preset color grade for your video. Just like a photo filter changes the look of an image, a LUT changes the colors, contrast, brightness, and overall appearance of your footage. You can apply it while filming (for monitoring purposes) or during post-production when editing your project.
Some LUTs are designed to correct technical issues, while others are created purely to give your footage a cinematic or stylized look.
Think of a LUT as a starting point—not the finished product. The best-looking videos often use a LUT first, followed by manual color adjustments.
Why Do Filmmakers Use LUTs?
Professional filmmakers, editors, and colorists rely on LUTs because they make the color grading process faster and more consistent.
Instead of rebuilding the same look on every project, you can apply a LUT that’s already been created and then make small adjustments to fit each scene.
Some of the biggest advantages include:
- Saving time during editing
- Creating a consistent look across multiple videos
- Matching footage from different cameras
- Previewing color while filming
- Speeding up large editing projects
- Maintaining brand consistency for recurring content
For example, if your company produces weekly YouTube videos, using the same LUT on every project helps create a recognizable visual style.
When Should You Use a LUT?
There isn’t just one reason to use a LUT. Different LUTs serve different purposes throughout production.
Here are some of the most common situations where they’re used.
Creating a Cinematic Look
This is what most people think of when they hear the word LUT.
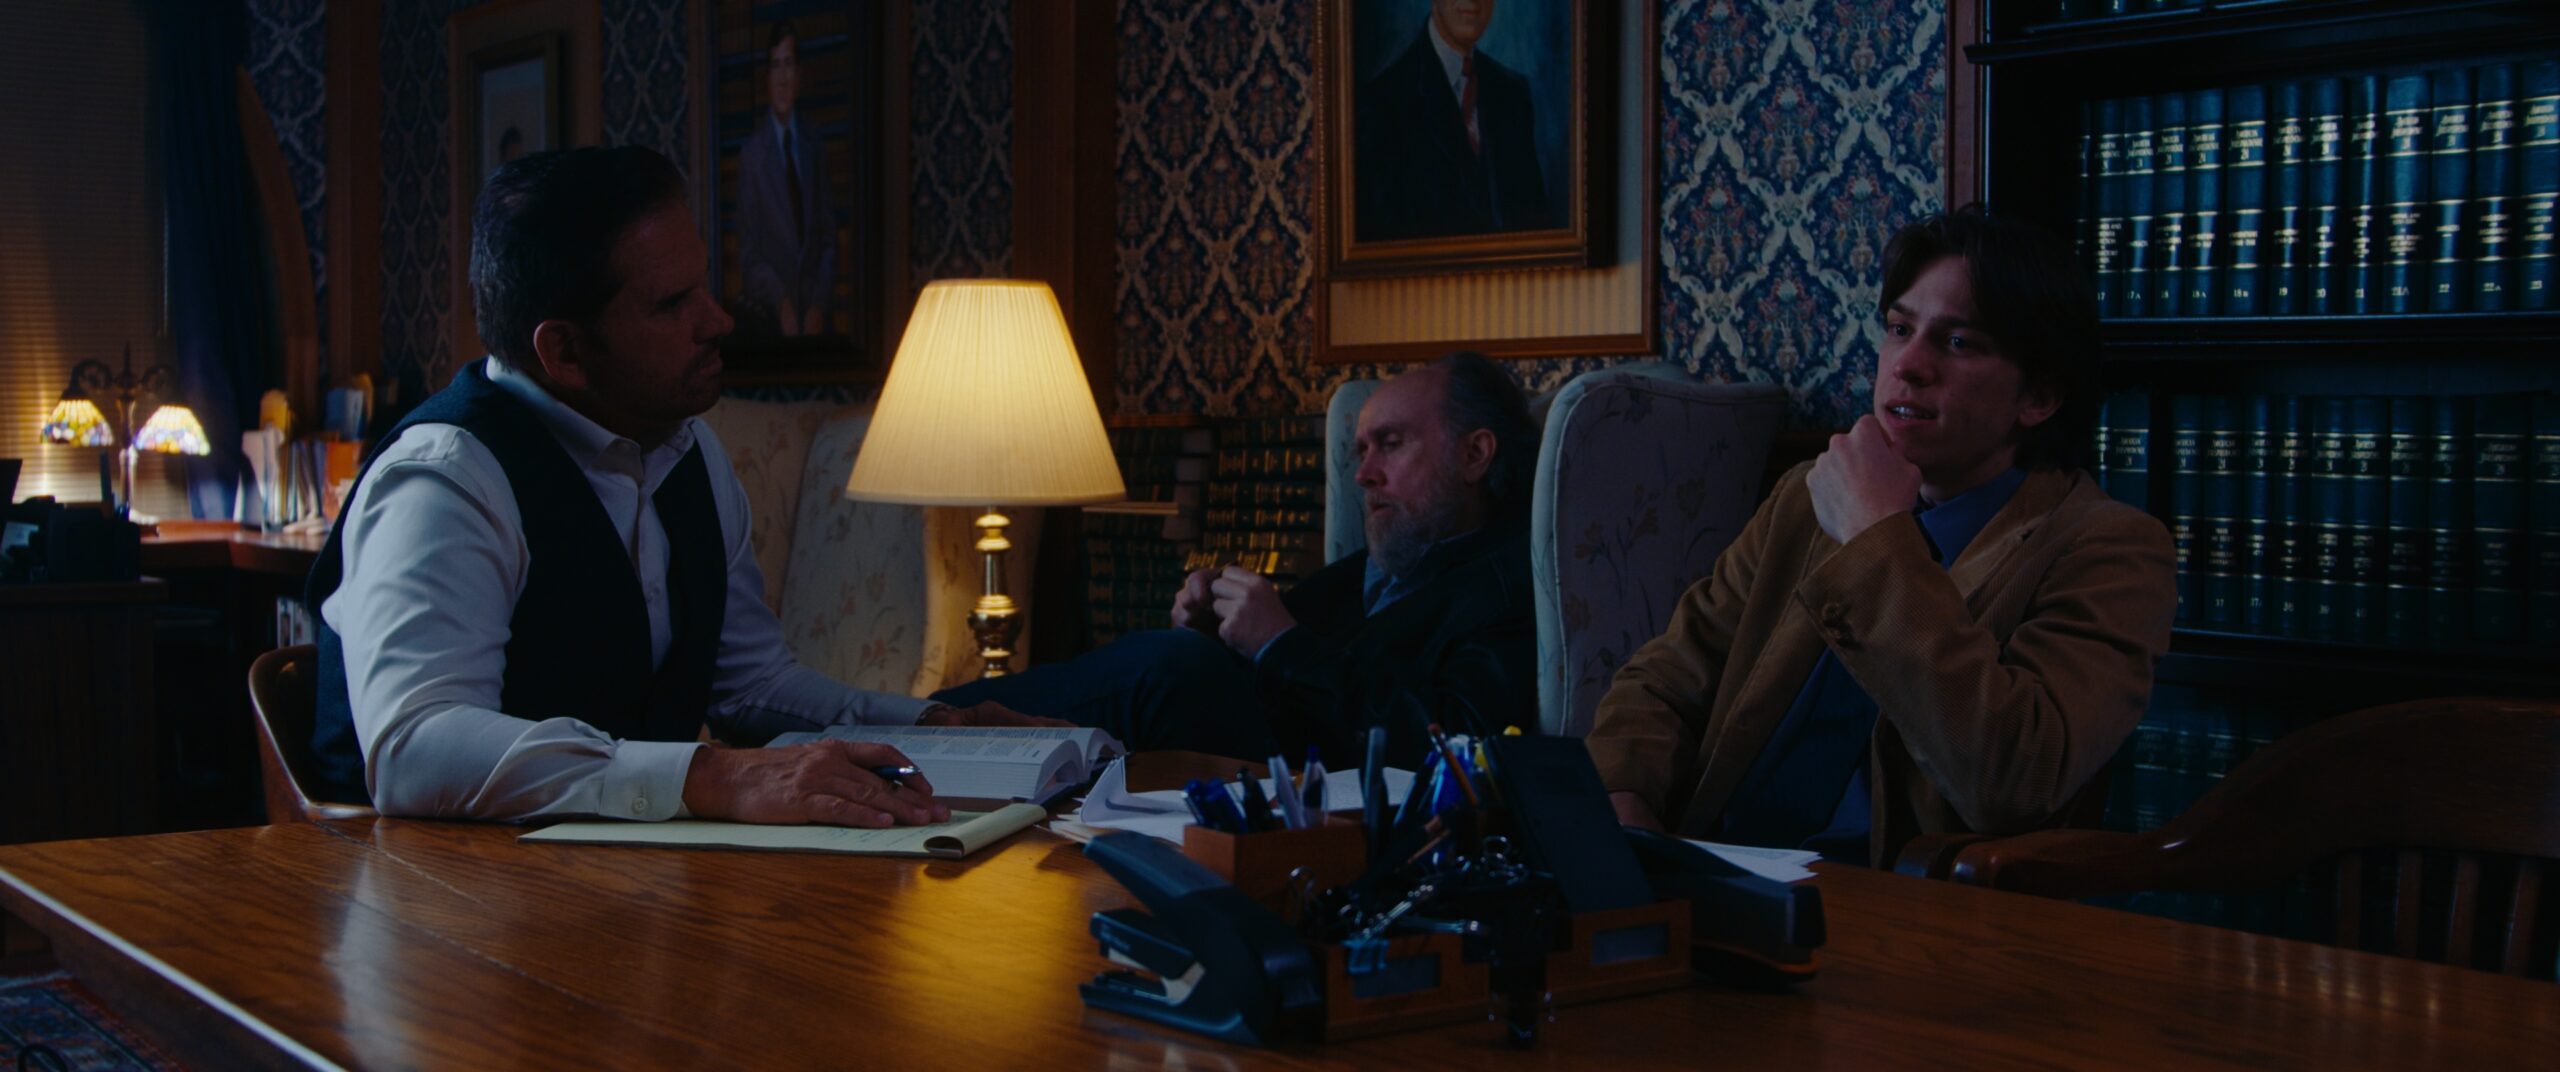
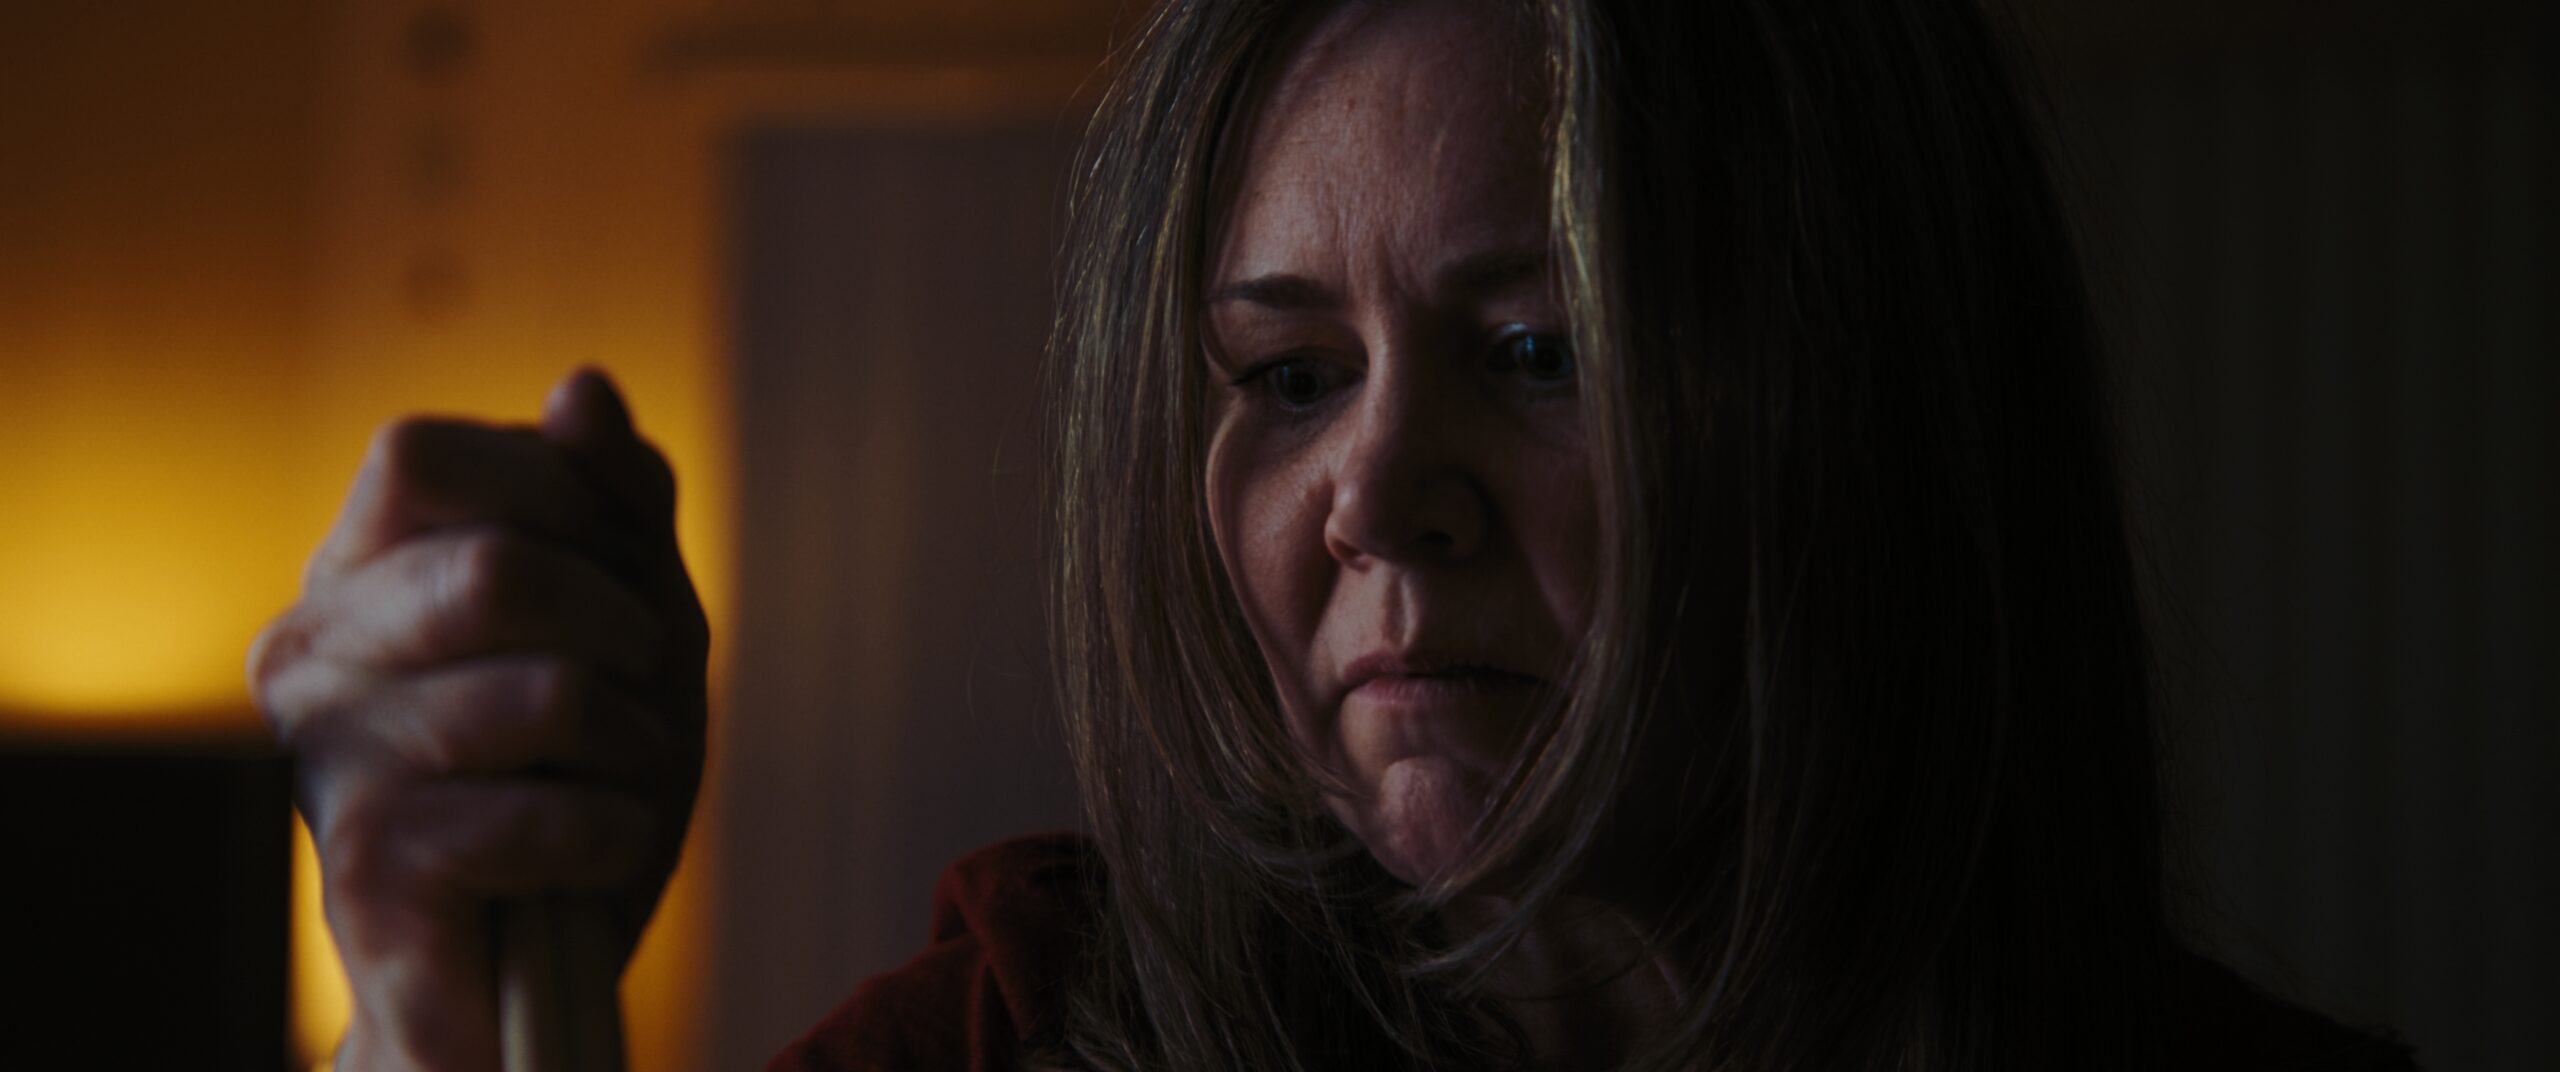
Creative LUTs can instantly give footage a warmer, cooler, moodier, or more dramatic appearance. They’re often used to establish a visual style before fine-tuning the color grade.
Converting Log Footage
Many professional cameras record in Log, which looks flat, washed out, and low in contrast.
While this may seem strange at first, Log footage captures much more dynamic range, giving editors greater flexibility during color grading.
A conversion LUT transforms Log footage into a standard viewing color space like Rec.709, making the footage look much more natural.
Matching Multiple Cameras
If you’re filming with two or more camera models, colors rarely match perfectly.
A technical LUT can help normalize footage so all cameras share a similar color profile before creative grading begins.
Previewing Footage on Set
Directors and cinematographers often use viewing LUTs during filming.
Rather than looking at flat Log footage on a monitor, they can preview an image that’s much closer to the finished result. This helps everyone make better decisions about:
- Lighting
- Exposure
- Skin tones
- Wardrobe colors
- Production design
The Different Types of LUTs
Not every LUT serves the same purpose. Understanding the different categories will help you choose the right one for your project.
Transformation LUT
A Transformation LUT converts footage from one color space to another.
For example:
- Log to Rec.709
- Sony S-Log3 to Rec.709
- Canon C-Log to Rec.709
- Panasonic V-Log to Rec.709
These LUTs are technical rather than artistic. Their goal is accurate color conversion instead of creating a specific style.
Calibration LUT
Calibration LUTs ensure that monitors display color accurately.
Professional colorists often calibrate every monitor in their editing suite so each screen displays identical colors. Without calibration, one monitor might appear warmer while another appears cooler, making color grading much more difficult.
Unless you’re working with professional reference monitors, you may never need to use this type yourself.
Viewing LUT
Viewing LUTs are commonly used during production.
They allow filmmakers to preview footage that more closely resembles the finished video, even if the camera is recording Log footage underneath.
This makes it much easier to judge:
- Lighting ratios
- Exposure
- Contrast
- Skin tones
- Overall mood
The LUT affects only what you’re seeing on the monitor—not the recorded footage itself.
1D LUT
A 1D LUT adjusts color using a single value for each channel.
While it accomplishes the basic goal of remapping colors, it offers relatively limited control compared to more advanced LUT formats.
Characteristics include:
- Simpler adjustments
- Smaller file sizes
- Usually saved with a .lut extension
Although still useful for certain technical tasks, they’re less common for creative grading.
3D LUT
A 3D LUT works within a three-dimensional color space, adjusting hue, saturation, and brightness simultaneously.
Because it controls color much more precisely, it’s the format most filmmakers and editors use today.
Advantages include:
- More accurate color control
- Better skin tone adjustments
- Richer cinematic looks
- Greater flexibility during grading
Most professional creative LUTs are distributed as .cube files.
Should You Shoot in Log or Rec.709?
One of the most common questions new filmmakers ask is whether they should shoot in Log or Rec.709.
The answer depends on your workflow.
Shoot Log if:
- You plan to color grade your footage
- You’re filming professional projects
- You want maximum dynamic range
- Your camera records high-quality Log formats
Shoot Rec.709 if:
- You need fast turnaround times
- You’re creating simple social media videos
- You don’t plan on extensive color grading
- You’re new to editing
If you’re shooting Log, you’ll almost always begin by applying a conversion LUT before making creative adjustments.
How to Choose the Right LUT
If you’re mainly looking to give your footage a polished, cinematic look, ask yourself these three questions before downloading or purchasing a LUT.
1. Is My Footage Log or Rec.709?
This is the most important question.
Many LUTs are built specifically for Log footage. Applying one to Rec.709 footage can produce oversaturated colors, crushed shadows, or unnatural skin tones.
Always check which camera profile the LUT was designed for.
2. What Editing Software Am I Using?
Most major editing programs support LUTs, including:
- Adobe Premiere Pro
- DaVinci Resolve
- Final Cut Pro
- Adobe After Effects
- Apple Motion
Some software organizes LUTs differently, so make sure you’re downloading a compatible file format.
3. What Look Am I Trying to Create?
Different LUT packs are designed for different styles.
You might be looking for:
- Warm cinematic films
- Clean commercial videos
- Moody documentaries
- Vintage film looks
- Bright travel videos
- High-contrast sports content
- Natural corporate interviews
Remember that no LUT is perfect for every shot. Think of it as the foundation of your grade, then adjust exposure, white balance, saturation, and contrast to match your specific footage.
The best color grades rarely come from applying one LUT and calling it finished. Great-looking videos combine LUTs with thoughtful color correction and creative adjustments.
Final Thoughts
LUTs are one of the easiest ways to improve your videos, speed up your editing workflow, and create a consistent visual style. Whether you’re converting Log footage, matching multiple cameras, or building a cinematic color grade, understanding how LUTs work will help you make better creative decisions.
The key is choosing the right LUT for your camera, your footage, and the story you’re trying to tell. Once you understand the basics, you’ll spend less time fighting with color and more time creating videos that look polished, professional, and ready to share.
If you’re just getting started, experiment with a few high-quality LUTs, compare the results, and don’t be afraid to make manual adjustments. The more you practice, the more naturally color grading will become—and the better your videos will look across YouTube, Instagram, TikTok, and every other platform where your audience watches.